

What “separating an image into layers” actually means
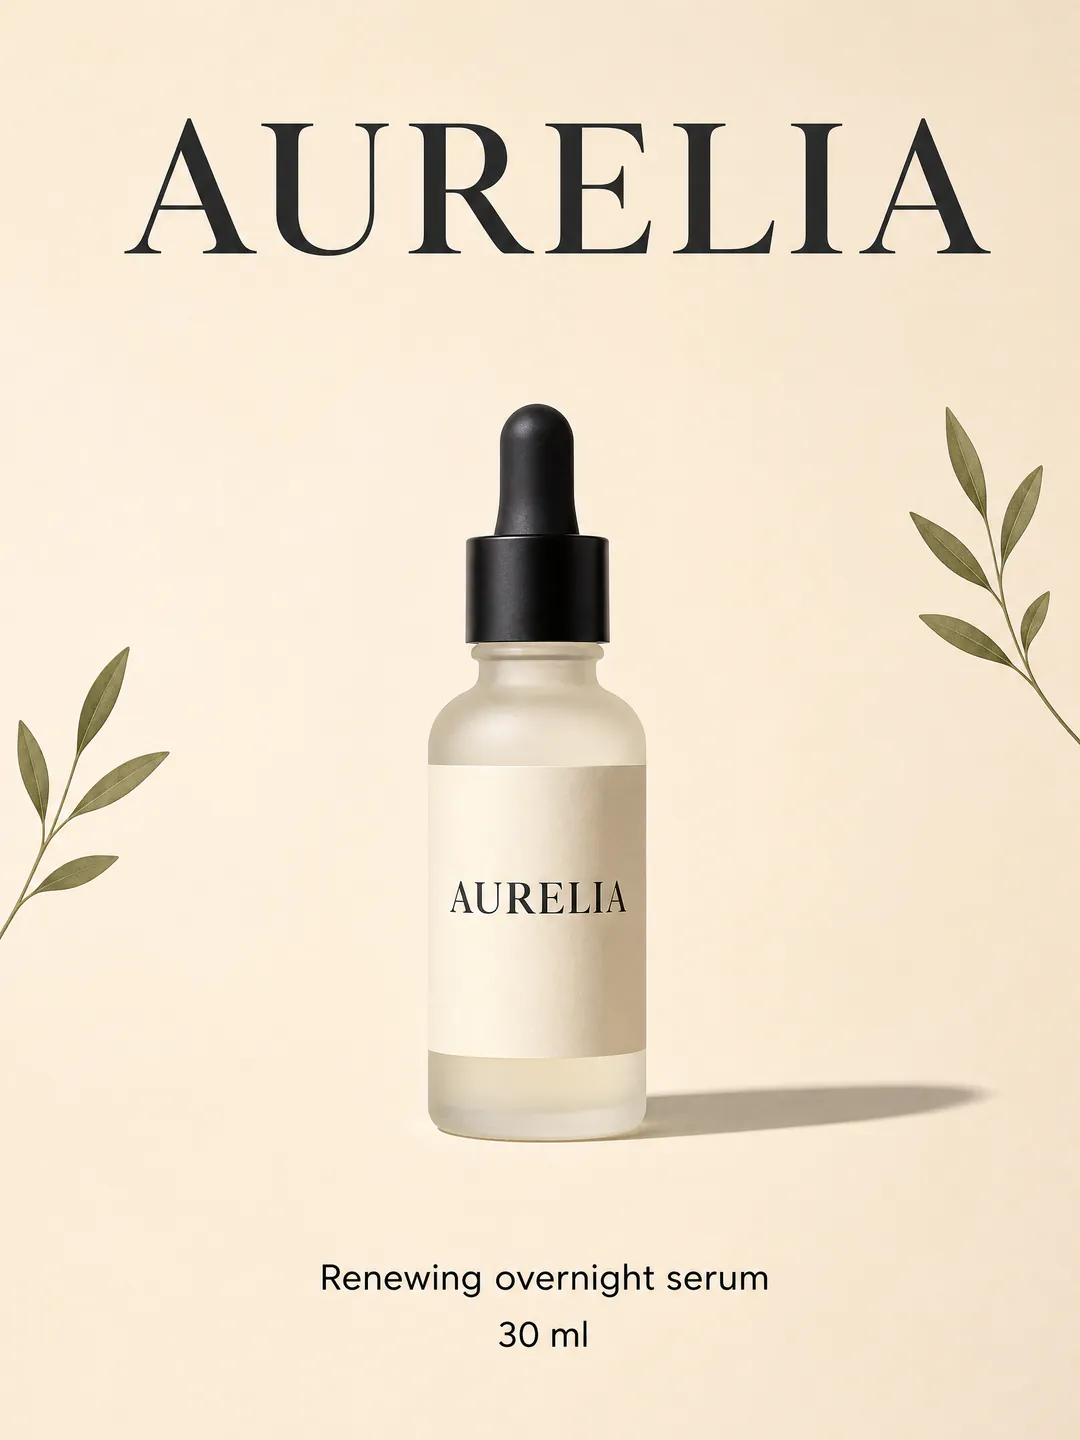
A flat image — a JPG, a PNG, a screenshot, an AI generation — is one sheet of pixels. Whatever was once a headline, a product and a background has been fused into a single picture. Separating it into layers means rebuilding that stack: each element on its own transparent layer, all the same size as the original, so they sit back on top of each other exactly as before.
Two things make separating an image into layers harder than it sounds. First, the parts have to be cut out cleanly, including soft edges like hair and shadows. Second, wherever one element covered another, the covered pixels do not exist — they have to be painted in, or the background has a hole in it the moment you move something.
None of the methods below recovers the original file. The PSD you had before flattening, its fonts, its vector shapes — gone. Every method separates the pixels that are left into layers — a new set, not the original one.
Method 1 — Separate an image into layers by hand in Photoshop
The classic way to separate an image into layers, and still the most controllable. Budget 20 to 60 minutes for an image with four or five elements, more if there is hair, glass or text on a busy background.
- 1Open the image and duplicate the layer (Ctrl/Cmd + J), so the original stays untouched at the bottom.
- 2Select the first element. The Object Selection Tool (W) handles most things in one drag; use Select › Subject for the main subject and Select and Mask to refine hair and soft edges.
- 3Move the selection onto its own layer with Layer › New › Layer Via Cut (Shift + Ctrl/Cmd + J). The element is now separate — and there is a hole where it was.
- 4Fill the hole. On the layer underneath, select the hole (Ctrl/Cmd-click the cut layer’s thumbnail, then expand the selection by a few pixels) and run Edit › Content-Aware Fill, or Generative Fill in recent versions. Check the result; clone or heal anything it got wrong.
- 5Repeat for every element, working from front to back, so each fill only has to invent what the next element covered.
- 6Text cannot be cut out and edited — it stays pixels. To change it, cut the text onto its own layer, fill behind it, then set new type with the Type Tool (Type › Match Font helps find something close).
- 7Name the layers and save as PSD.
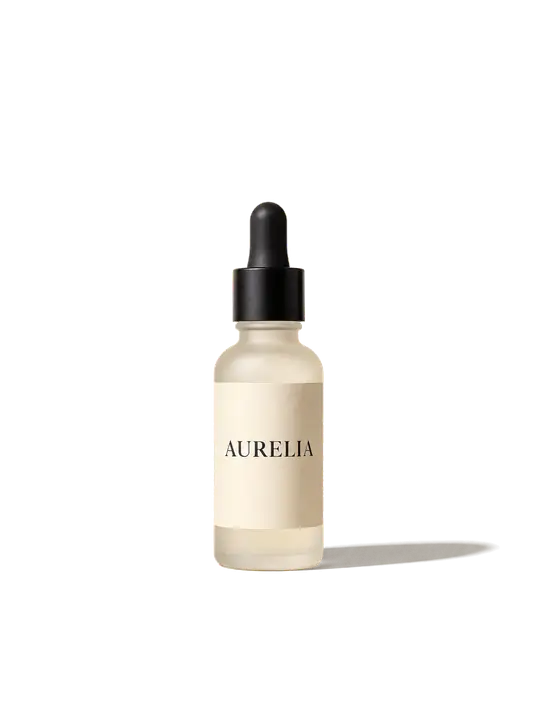
 original
 background · filled in
Method 2 — Separate an image into layers for free in Photopea or GIMP
You do not need Photoshop to separate an image into layers. Photopea runs in the browser and mirrors Photoshop’s menus closely enough that the steps above apply almost unchanged: Select › Subject, Layer › New › Layer via Cut, and Edit › Fill with Content-Aware for the hole. It opens and saves real PSD files.
GIMP is a desktop download and separates an image into layers the same way, under different names: the Foreground Select or Free Select tool to pick an element, Edit › Cut then Edit › Paste as › New Layer to separate it, and the Heal tool — or the Resynthesizer plug-in’s Heal Selection — to fill the hole. GIMP exports PSD too, though layer names and some effects do not always survive the trip.
Expect the same time as in Photoshop, and a little more fiddling on soft edges, where both tools have fewer aids.
Method 3 — Separate an image into layers in one step with AI
An image to layer tool does the whole sequence at once: it finds the elements, cuts them out, fills in the background behind each of them and returns the stack as a layered PSD or as one transparent PNG per layer. On a poster like the one above, separating the image into layers takes a few minutes at most rather than an hour.
- 1Upload the flat image — JPG, PNG or WebP. Nothing to mask and nothing to select.
- 2The main elements come back separated into layers: subject, text, decoration and background, each on the original canvas, with the background filled in where things stood.
- 3Check the edges and the filled-in areas in the preview. Hair, glass, smoke and overlapping objects are where any method, including this one, needs a second look.
- 4Download the PSD, the PNGs or a ZIP of both and carry on in Photoshop, Figma, After Effects or Canva.
original decoration
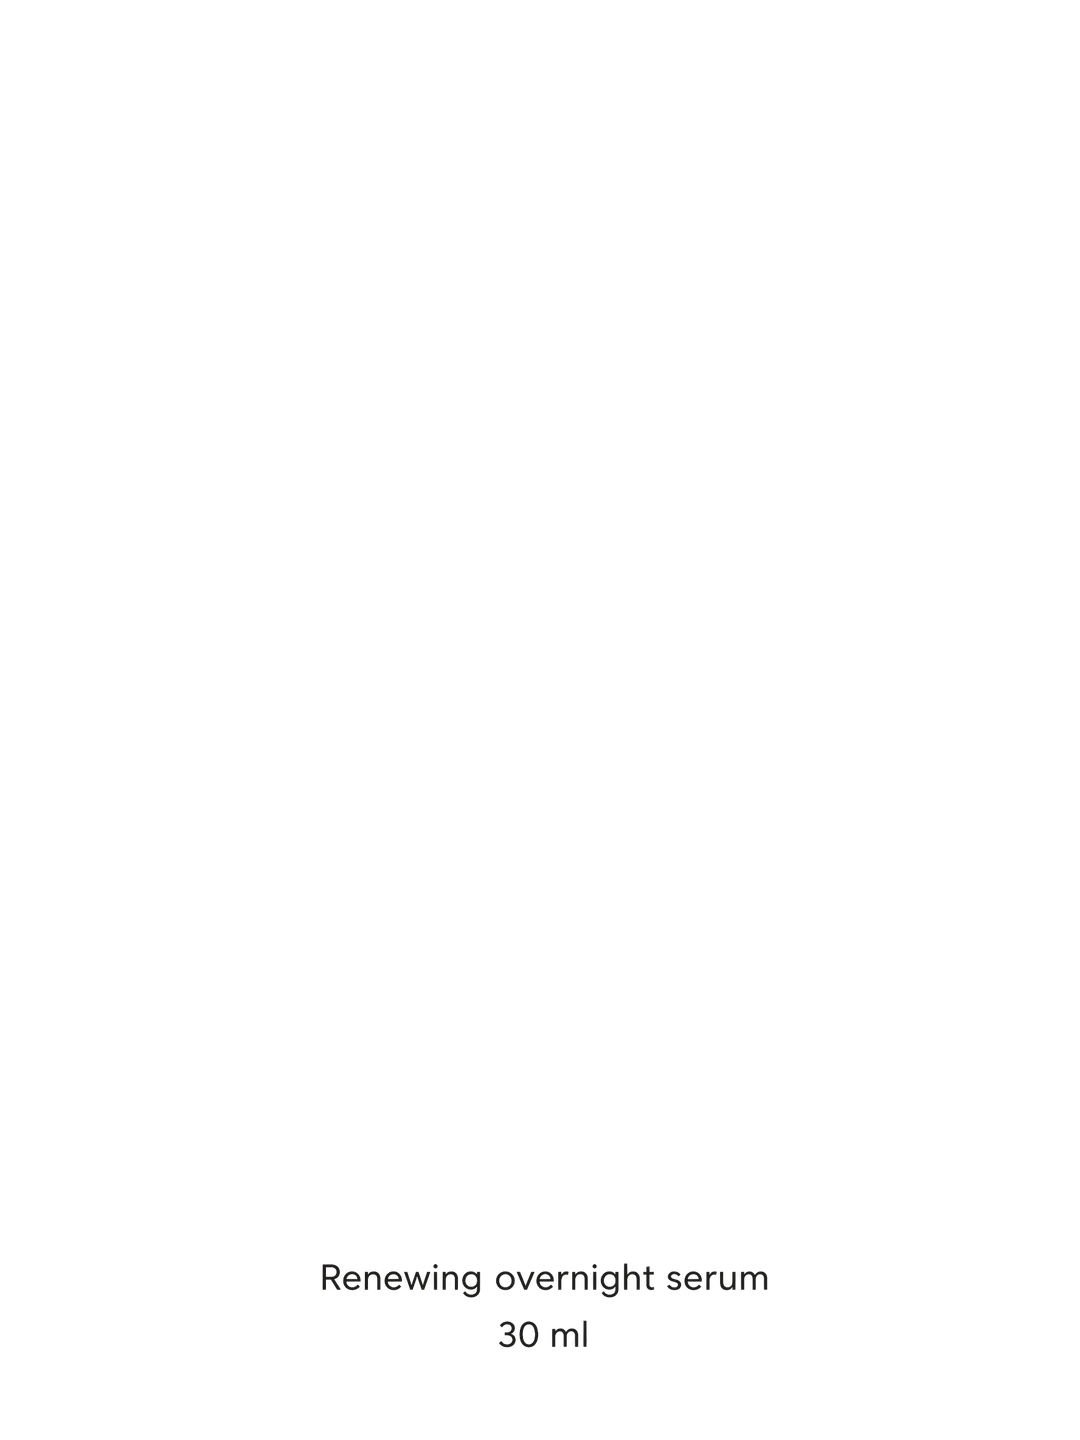 body text
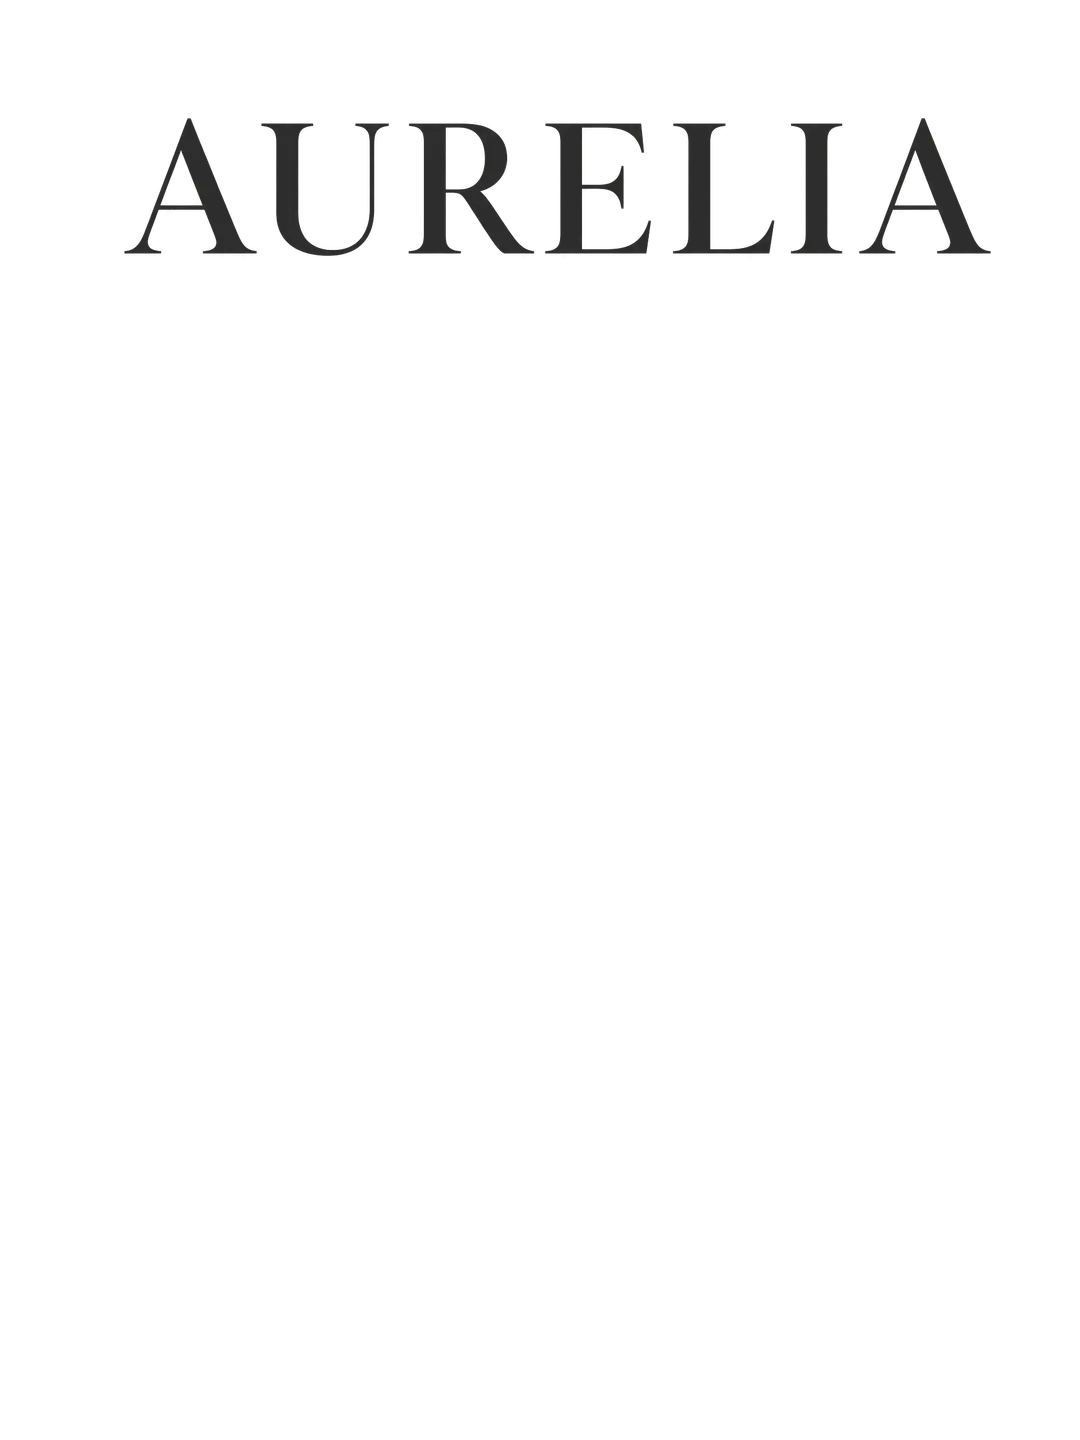 title
titleTwo limits worth knowing before you separate an image into layers this way. Text comes back as pixels on its own layer, not as live type: you delete it and retype, you do not edit it. And the filled-in background is generated, so anything that was hidden is an educated guess — look at it before you ship it.
Five tips for separating an image into layers with any method
- Start from the largest, least-compressed file you have. Edges cut from a heavily compressed JPG carry its blocky noise with them.
- Work front to back. The element in front hides the least, so cutting it first means every fill has to invent less.
- Expect trouble at soft and see-through edges — hair, fur, glass, smoke, soft shadows. Zoom in and fix them by hand whatever tool did the first pass.
- Treat text as replace, not edit. Cut it out, fill behind it, set it again — that is true in every method.
- If you are generating the image yourself, prompt for separation: a plain background, space between objects, text away from the artwork. The AI image to PSD page has a prompt suffix you can copy.
Which way to separate an image into layers, and when
Splitting into layers the right way depends on how many images you have, how much control you need, and whether the text has to stay editable.
| Photoshop by hand | Photopea or GIMP | AI, one step | |
|---|---|---|---|
| Time per image | 20–60 min | 30–60 min | A few minutes at most |
| Cost | Photoshop subscription | Free | Per run |
| Skill needed | Selections, masks, fills | The same, with fewer aids | None |
| Control over each edge | Full | Full | Check and touch up after |
| Hidden background | You fill it | You fill it | Filled in for you, generated |
| Text | Pixels — retype it | Pixels — retype it | Pixels — retype it |
| What you get | PSD | PSD | PSD, PNGs or ZIP |
| Best for | One hero image, done perfectly | The same, on no budget | Many images, or a fast first pass to refine |